The Default DNS that your PC will have is determined by your ISP (Internet Service Provider), and somtimes they block certain websites because of regulations or themes that are somehow not in compliance with them. In this article we will show you how to adjust your DNS to use the most trustworthy ones out there.
What is the DNS and why should I change my default?
DNS stands for Domain Name Server is basically the web's address book.
Every website is located at an IP, and when you type in a web name, it's the DNS job to guide you to the correct IP location.
In this article we'll explain how to use a renounced DNS service like Cloudflare, instead of your ISP default DNS. Long story short, It will be always updated and have a lower latency than your default DNS.
If you want to know more about DNS and the reasons behind this article, click here.
How to change it:
- 1. Open Windows Start Menu
- 2. Search for Control Panel, and click the top result to open the experience
- 3. Click on Network and Internet
- 4. Go to Network and Sharing Center
- 5. Click on Change Adapter Settings
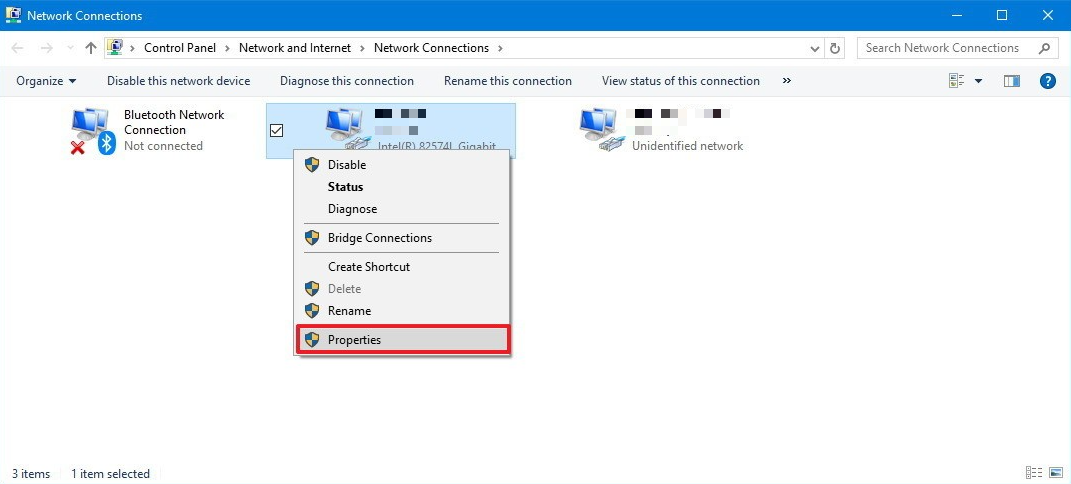
- 6. Right-click the Wi-Fi or Ethernet adapter that you're using to connect to the internet, and select the Properties option.
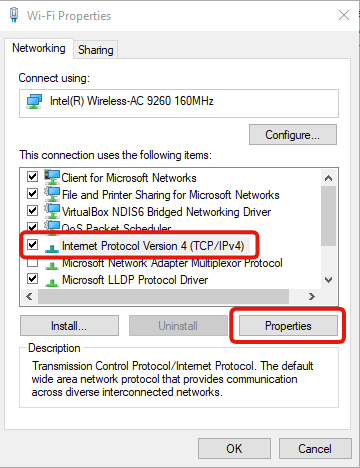
- 7. Select the option Internet Protocol Version 4 (TCP/IPv4)
- 8. Click the Properties button
- 9. Select the Use the following DNS server addresses option
- 10. In the "Preferred DNS server" field, enter this IPv4 address:
1.1.1.1- 11. In the "Alternative DNS server" field, enter this IPv4 address:
1.0.0.1- 12. Click OK, and you're done.

Thanks to Windows Central for the Source